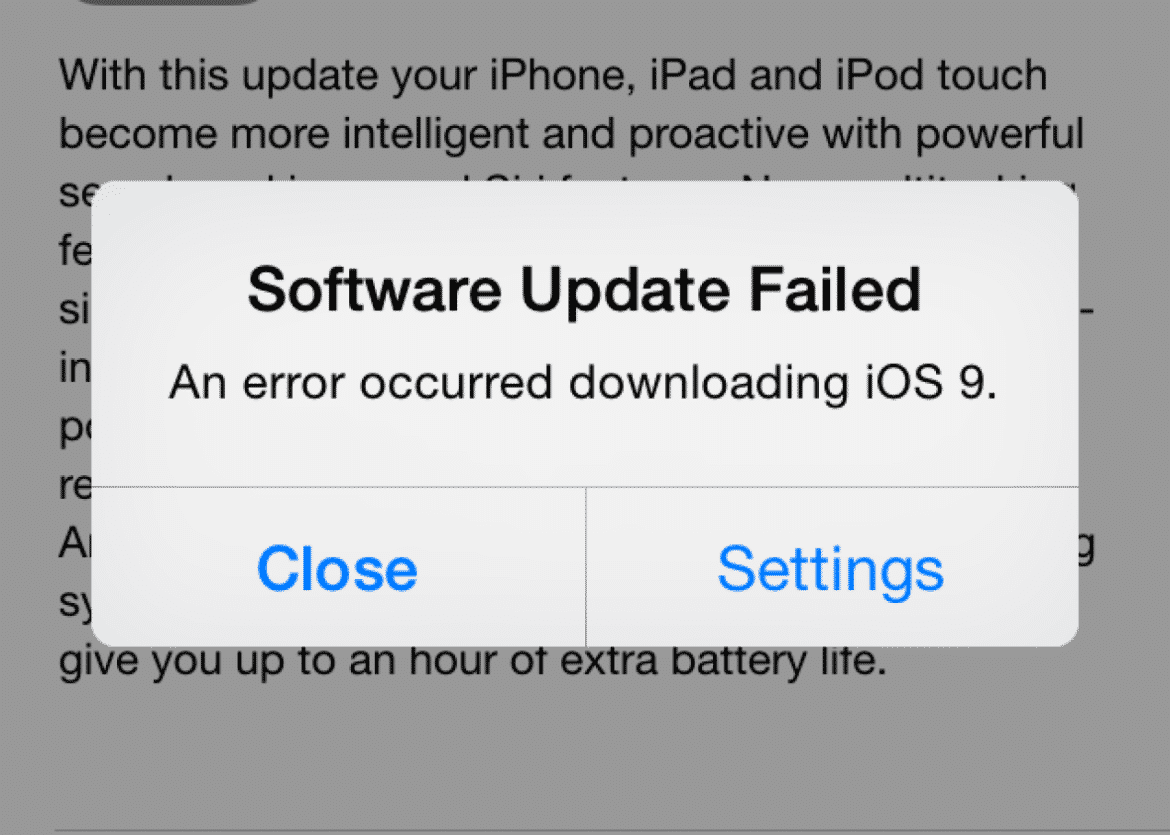
At one point in time, I run into a problem where my iPhone won’t update. And, just recently, someone asked: “why won’t my phone update”? Luckily, I found a fix and I want to share it with you. Hence, in this article, I explain what to do when your iPhone does not update.

An image of an iPhone that displays the Software Update Failed message.
You might also like:
- Why Is My iPhone Home Button Not Working?
- My iPhone Won’t Turn On. What Do I Do?
- How Do I Turn Off Autocorrect On My iPhone?
Reboot Your iPhone
The quick and easiest fix to solve software update issues on your iPhone is to restart your phone. So, how do I restart my iPhone? Wait, you really don’t know? Here’s how:
- Firstly, hold down the power button.
- “Slide to power off” appears on your iPhone’s screen.
- Slide the slider to turn off your iPhone.
Once the iPhone powers down, wait for 5 to 10 seconds before turning it on again. You do know how to turn on your iPhone, right? Hint, you have to hold down the power button. Once the iPhone restarts, try to run the update again.
Ensure That You Have Free Space
Apple updates are sometimes huge. Do you have lots of music and photos stored on your iPhone? You may also want to clear out unwanted documents and data to make space for the update. Here’s how to check the available space on your iPhone:
- Firstly, open the Settings app on your iPhone.
- Then, tap the General option.
- Here, scroll down and tap iPhone Storage.
- At the top of the screen, you see how much storage is available on your iPhone.
- You ought to have at least 2GB of space free for good measure.
My iPhone Won’t Update Using The Settings App
If you run the update on your iPhone via the settings app and it fails, then try to run the update through iTunes. How do you update your iPhone using iTunes?
- Firstly, launch iTunes on your computer.
- Then, plug in your iPhone using your Lightning cable.
- In the top of the iTunes interface, click the iPhone button.
- Lastly, click the Update button on the righthand side of the screen and confirm that you want to update your iPhone.
- The update automatically downloads and installs.
iPhone Won’t Update Via iTunes
On the other hand, if the iTunes method fails, try to run the update through the Settings app on your iPhone. Here’s how to do it:
- Firstly, open the Settings app on your iPhone.
- Then, tap General.
- Then, tap Software Update.
- Lastly, plug in your iPhone to a power source and tap the Install Now button.
You may also want to read:
- Why Is My iPhone Battery Draining So Fast?
- How Do I Get Safari To Work On My iPhone?
- What To Do When My iPhone Cannot Connect To App Store?
- How Do I Solve iTunes Connection Errors?
- Why Won’t My iPhone Home Button Work And How Do I Fix It?
Video: iPhone Won’t Update? Watch This Video!
Also, check out these articles:
- Why Won’t My iPhone Turn On?
- How Do I Turn Off Autocorrect On My iPhone?
- My iPhone Screen Won’t Work. What Do I Do?
- How Do I Sign Into iCloud?
- Why Won’t Siri Work?
- How Do I Disable Siri?
Last Resort – Restore Your iPhone
- Open iTunes on your computer and plug in your iPhone using your Lightning cable.
- Click the iPhone button at the top of the iTunes window.
- Click the Restore button on the right-hand side of the window.
- Confirm you want to restore your device in the pop-up window.
- iTunes downloads the latest version of iOS, erases everything from your iPhone and installs an updated version of iOS.
More Tutorials To Check Out:
- How To Play GBA Games On An iPhone?
- Is There A Way To Delete Spotlight Search?
- How To Use 3D Touch On My iPhone?
- Can I Turn Off The Camera Sound On iPhone?
- My iPhone Won’t Ring. What Do I Do?
- Why Does My iPhone Get Hot?